Step 3: Create First Synchronization Task
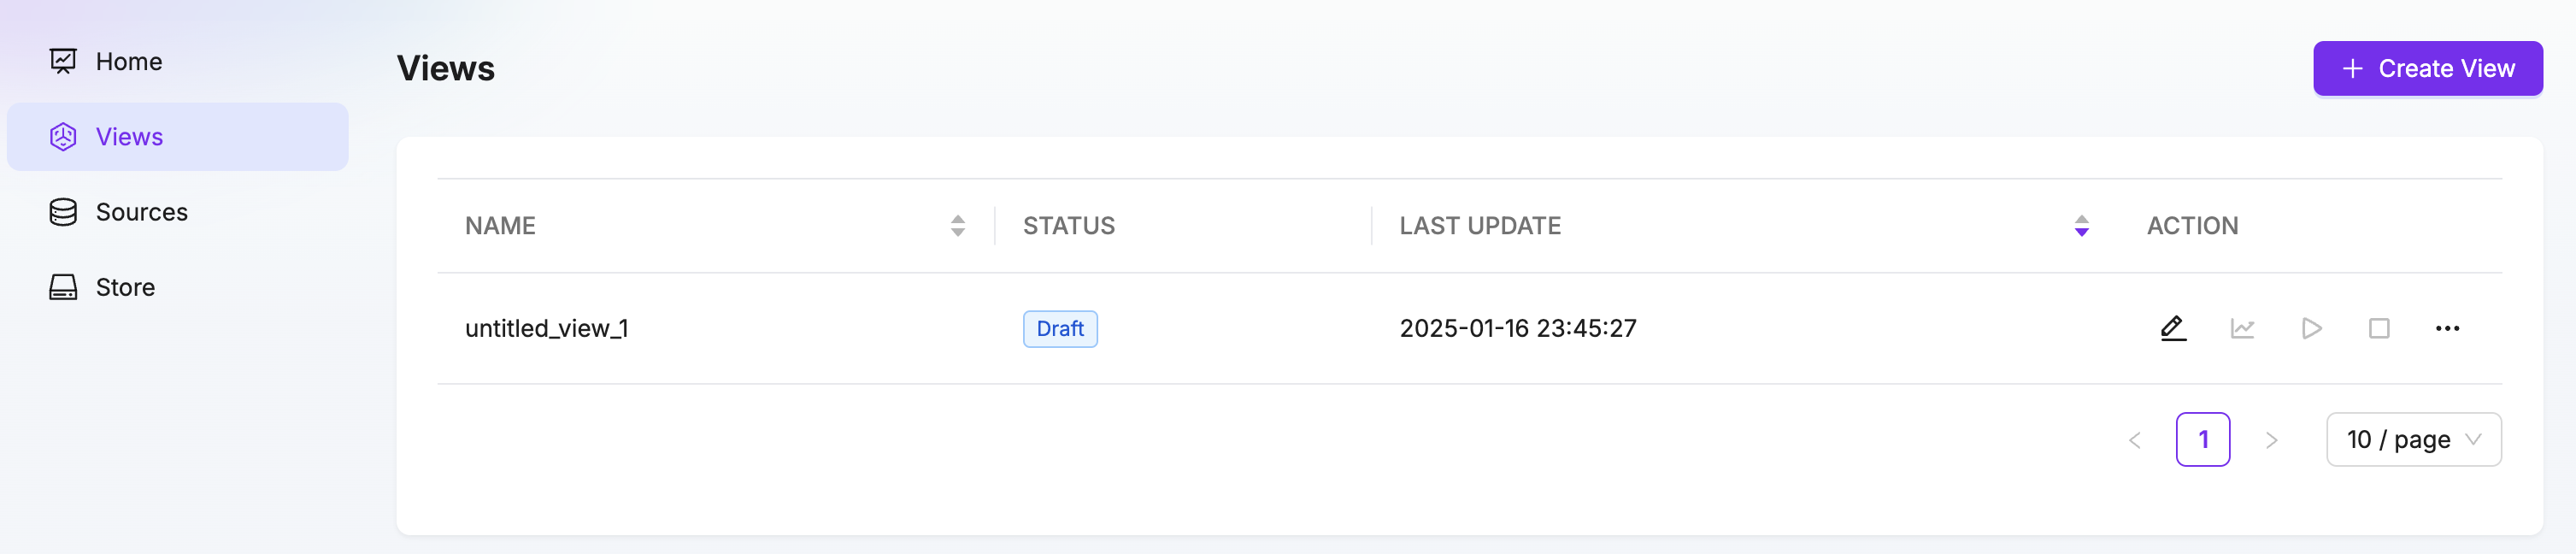
- Click on the Tasks navigation bar on the left, then click the Create Task button on the right to enter the synchronization workflow.
- Select your source database and target database connections. After selecting them, you can preview the available tables from your source database.
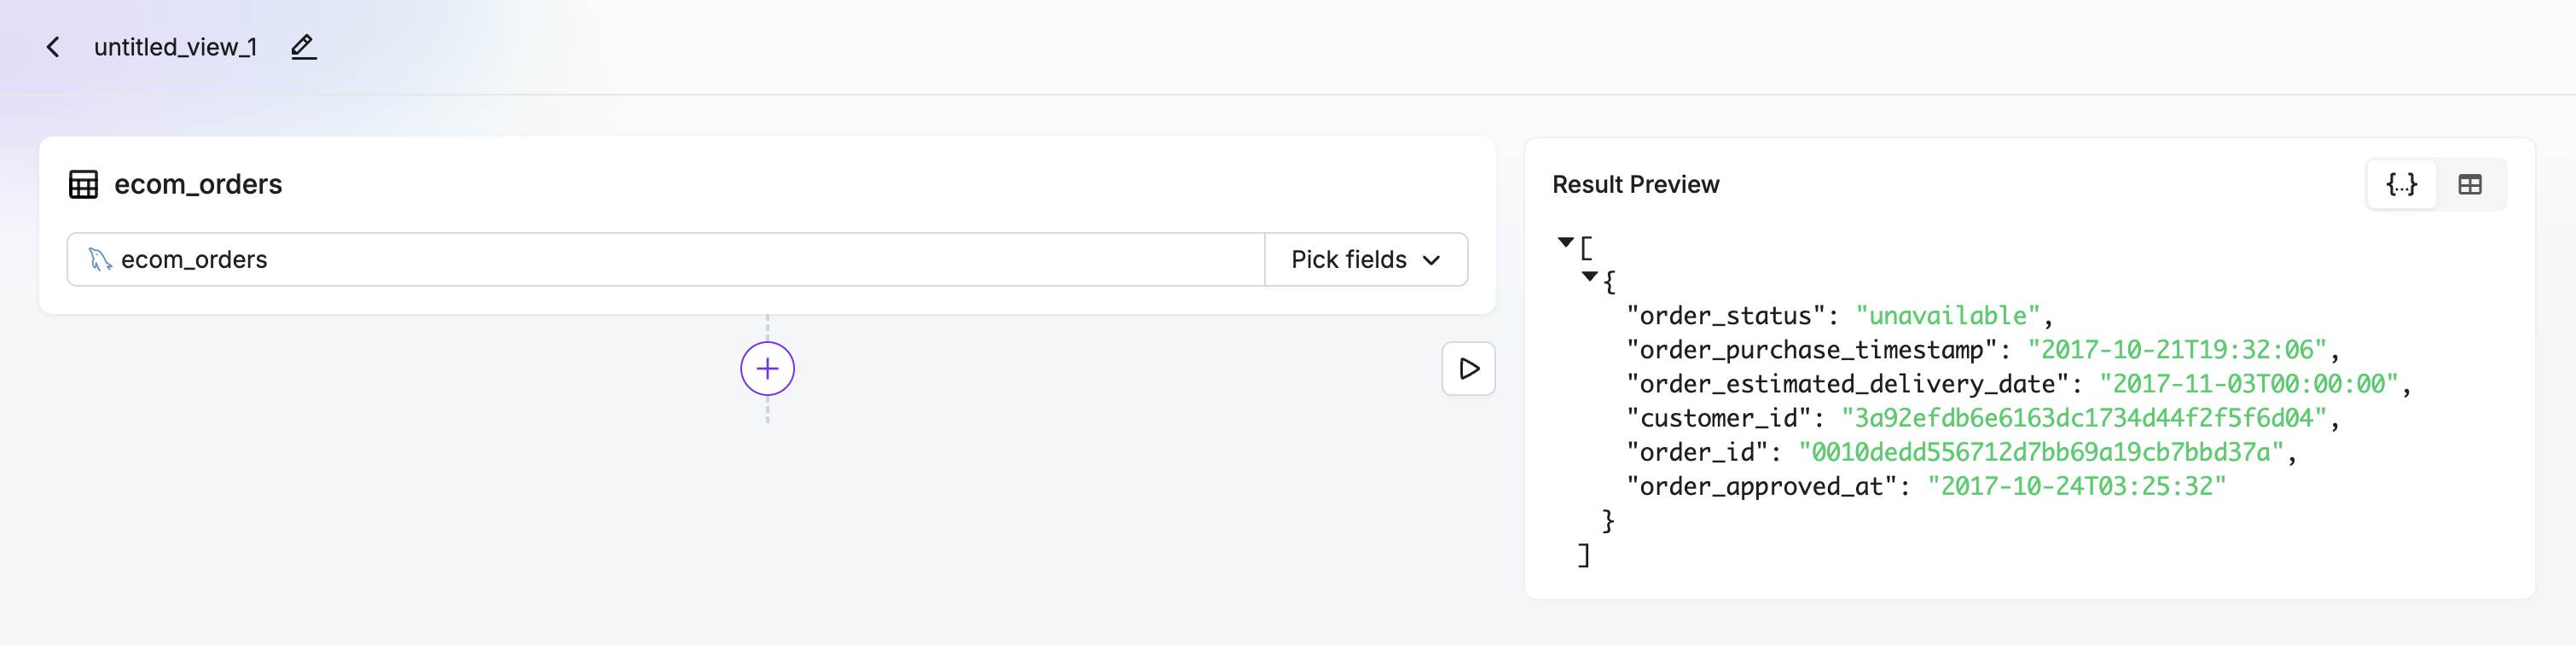
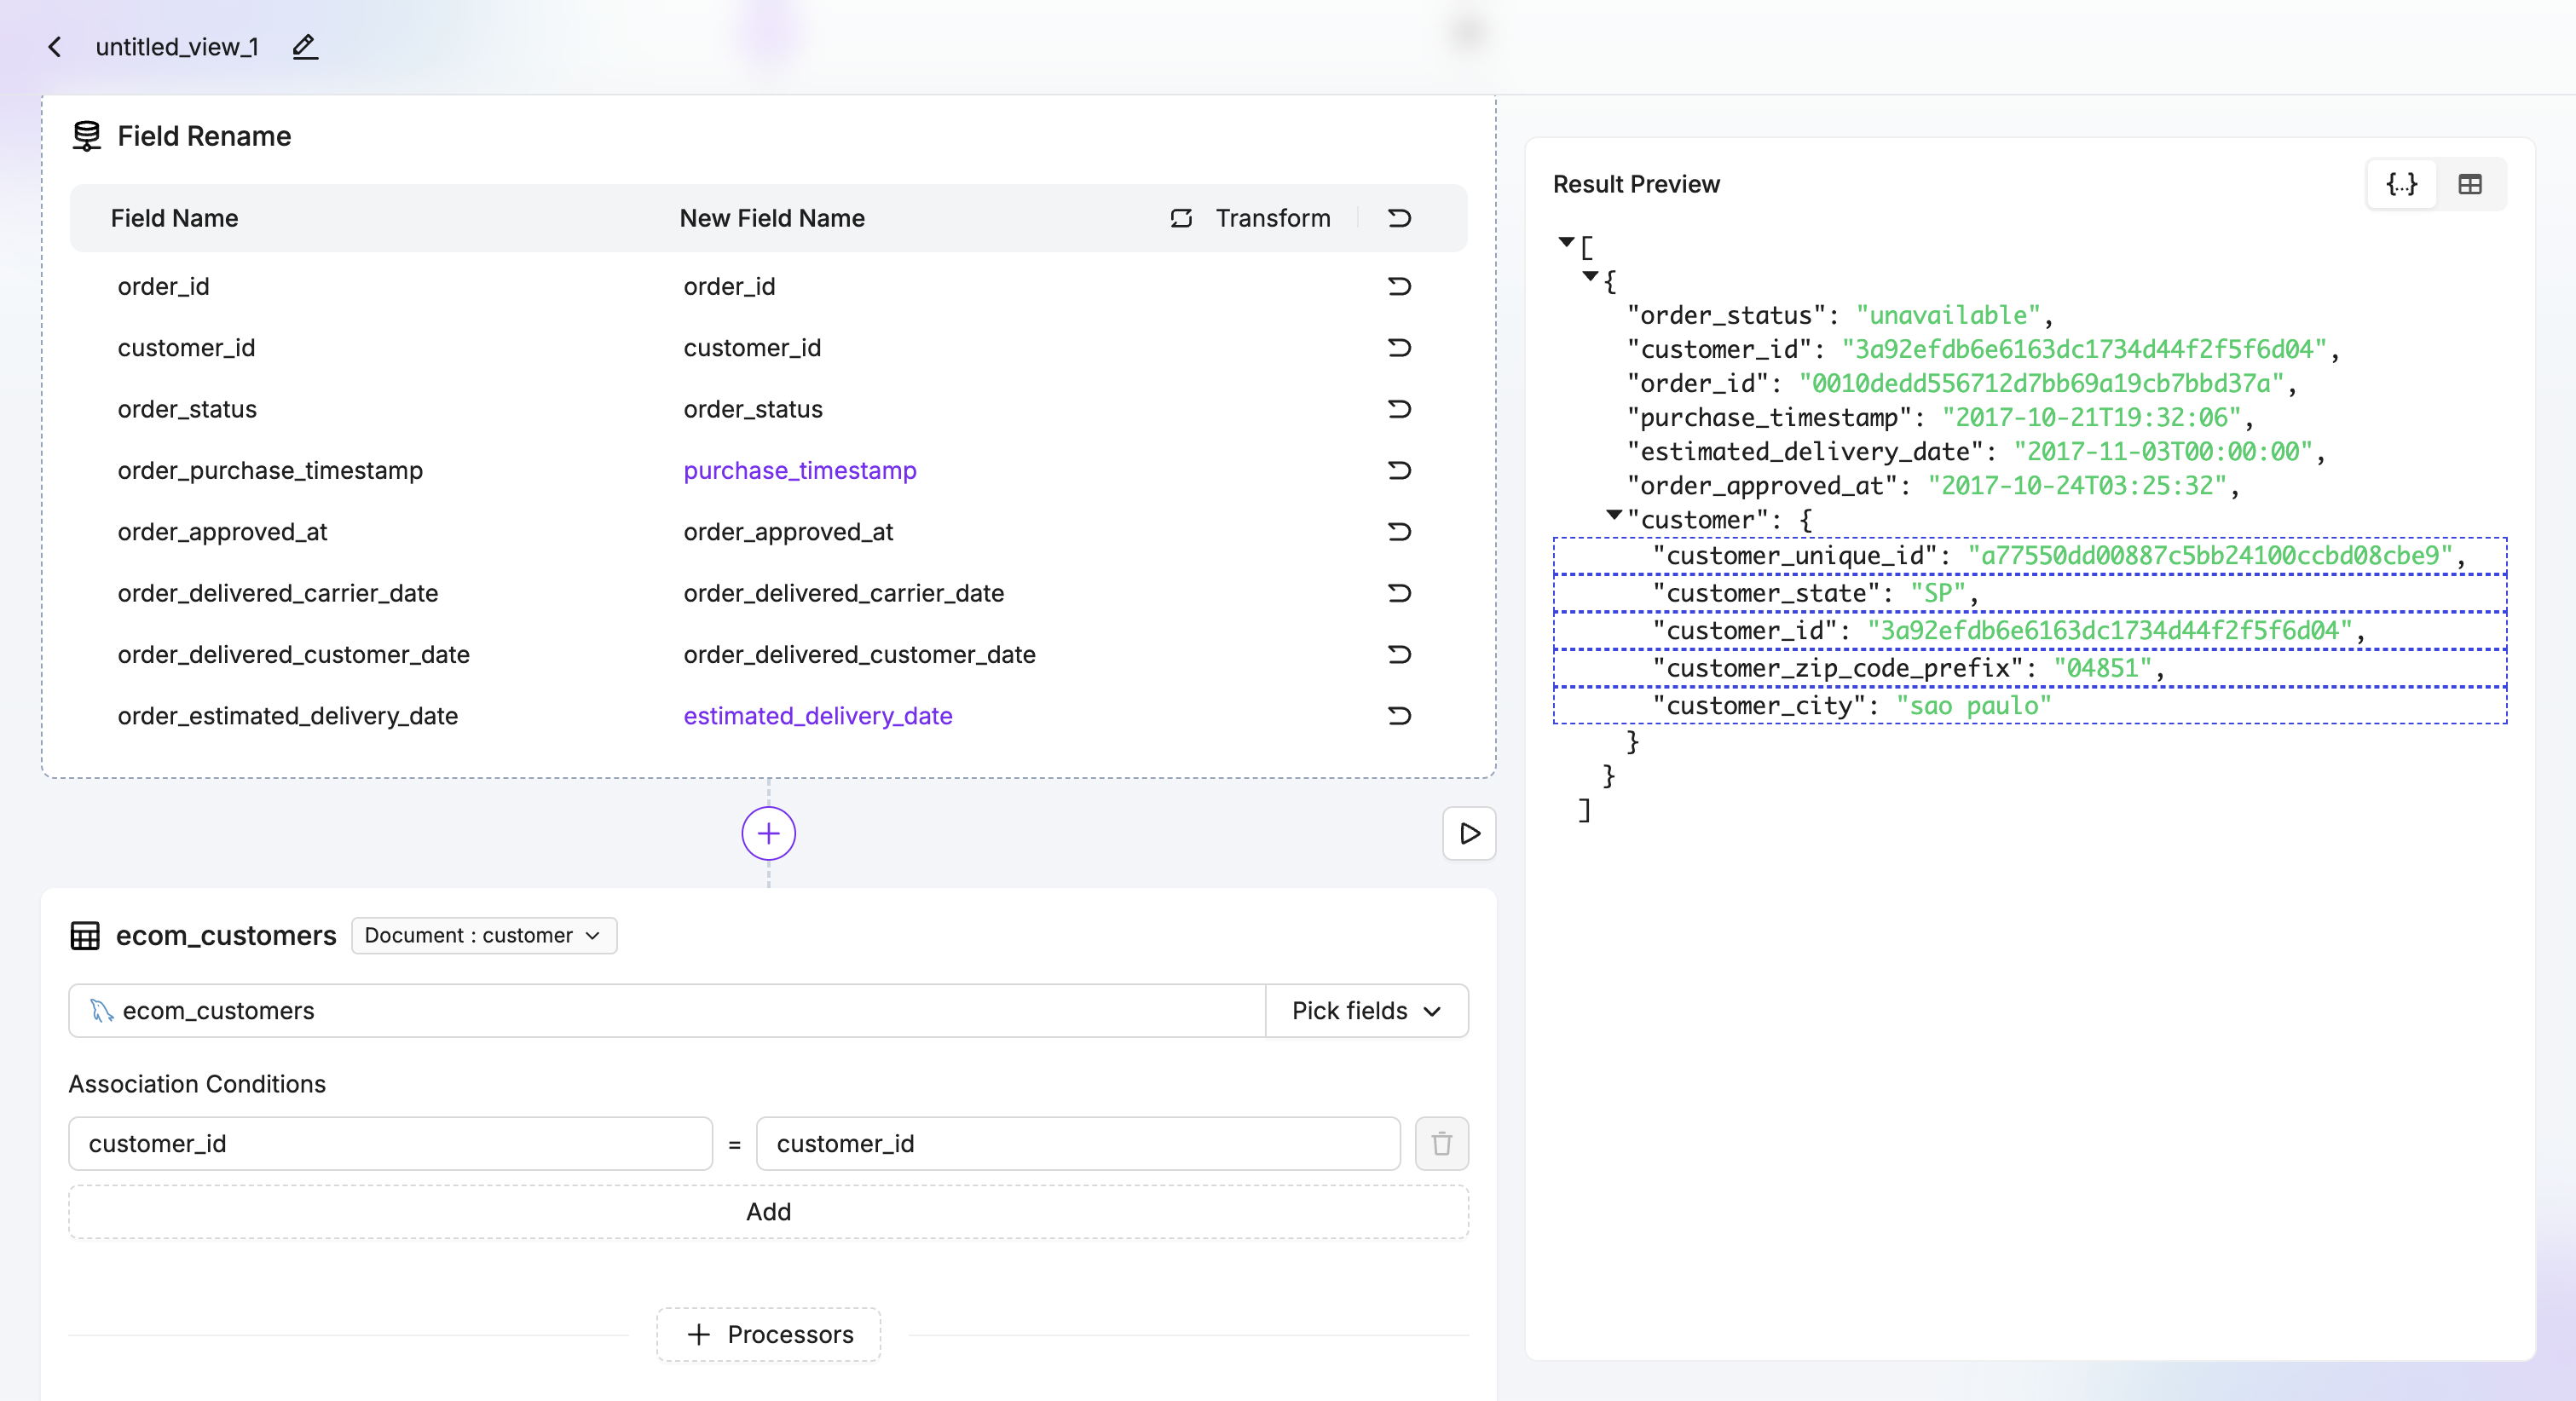
- Choose the tables you want to synchronize. You can select individual tables or use bulk selection. For each table, you can configure transformation rules if needed.
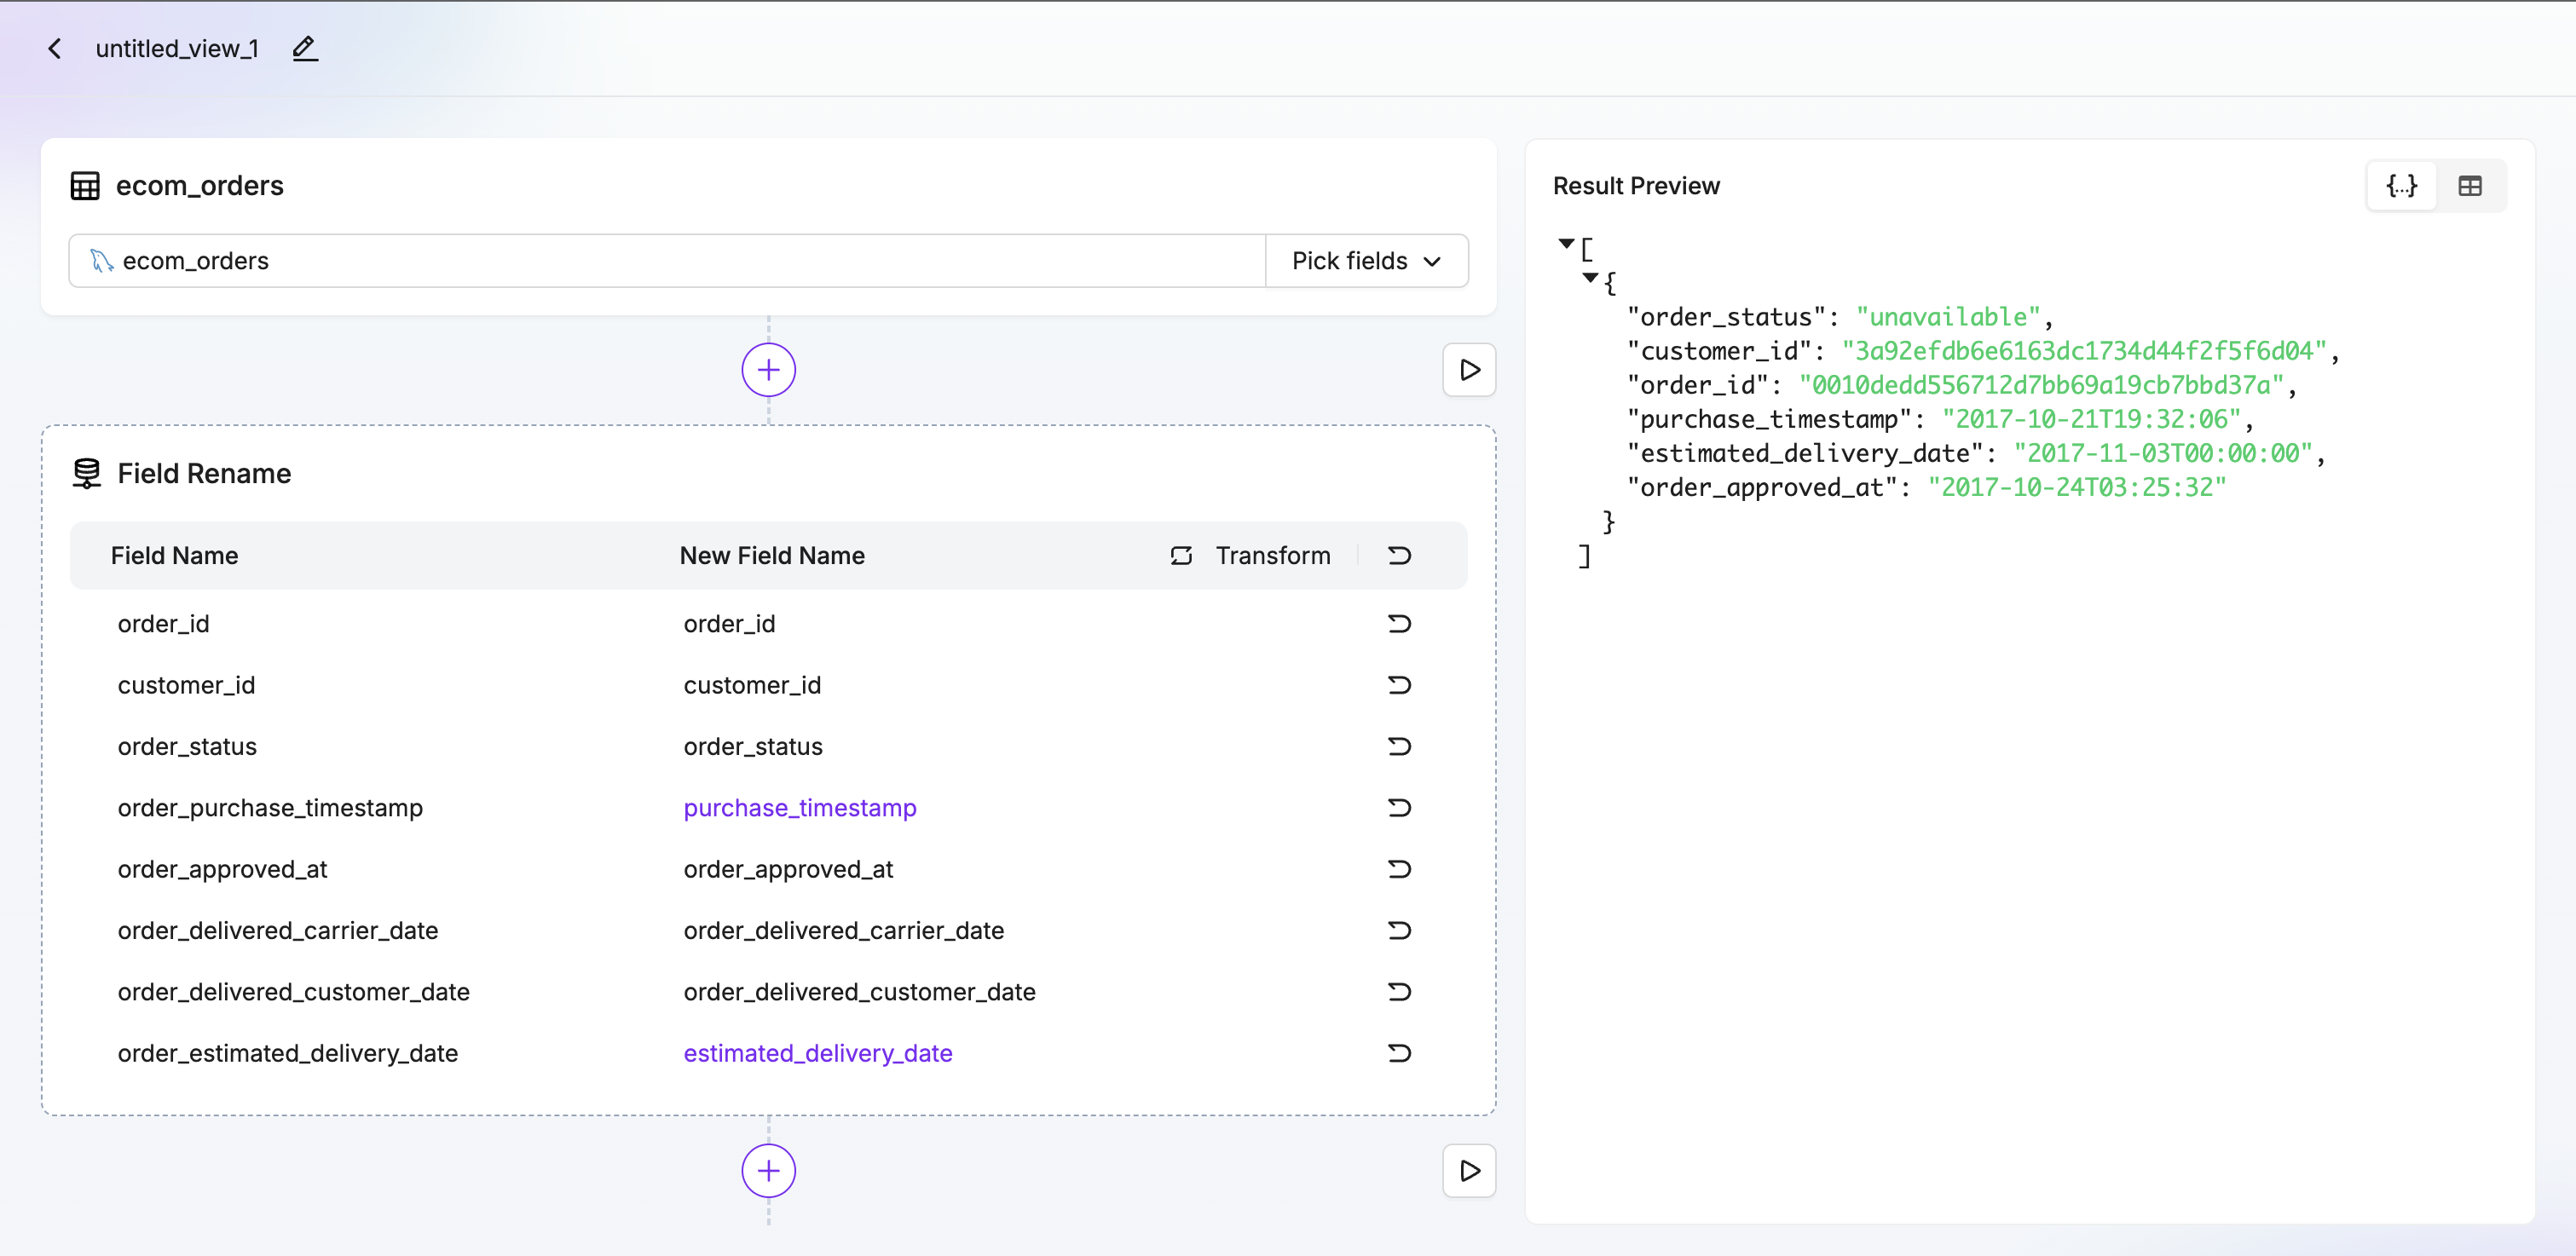
- Configure synchronization settings such as sync mode (full or incremental), batch size, and performance parameters. You can also set up field mappings and transformations.
- Choose your target database and configure the destination settings. Specify how data should be written to the target database.
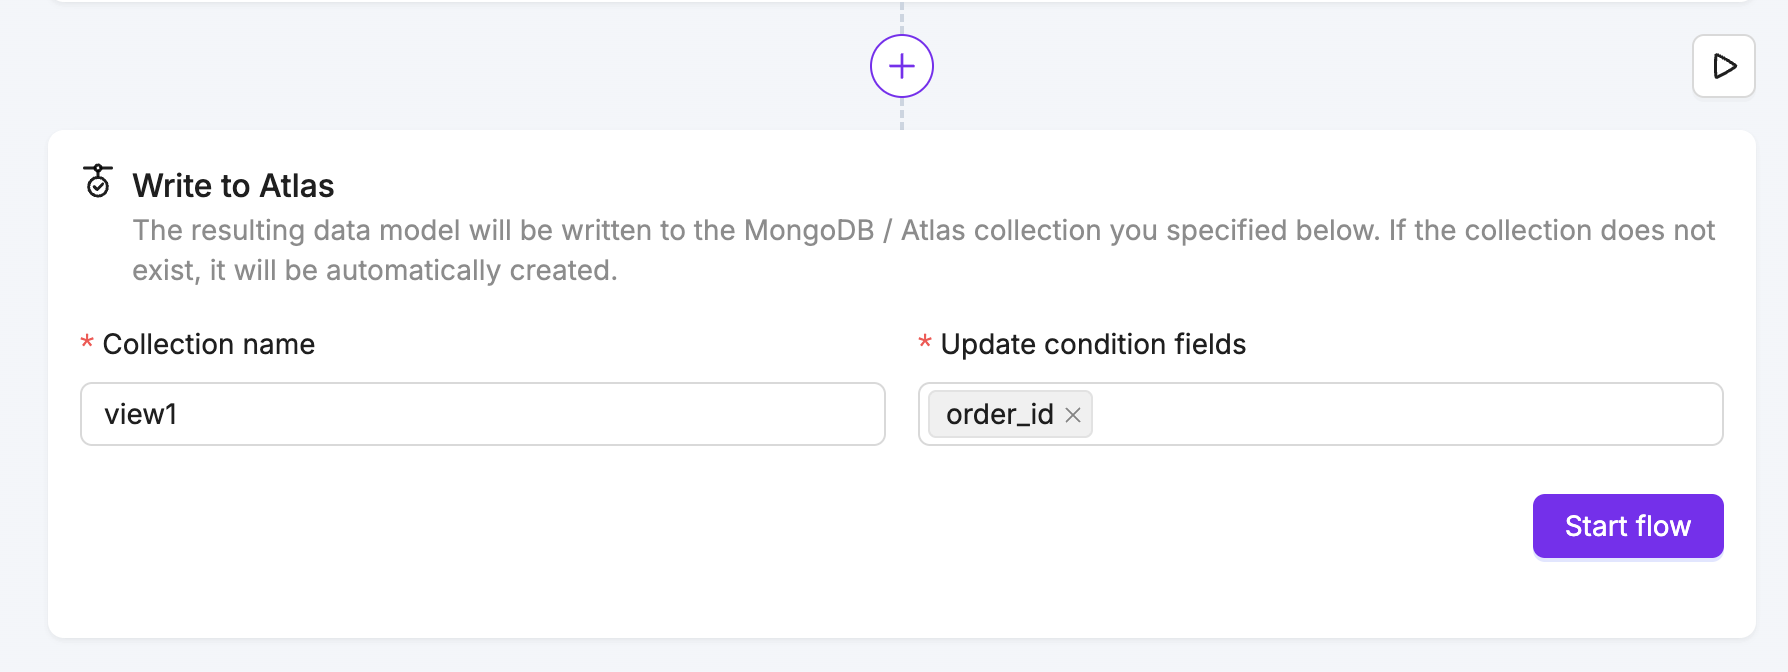
- Click Start Task and observe the task entering the running state. The synchronization will begin immediately.
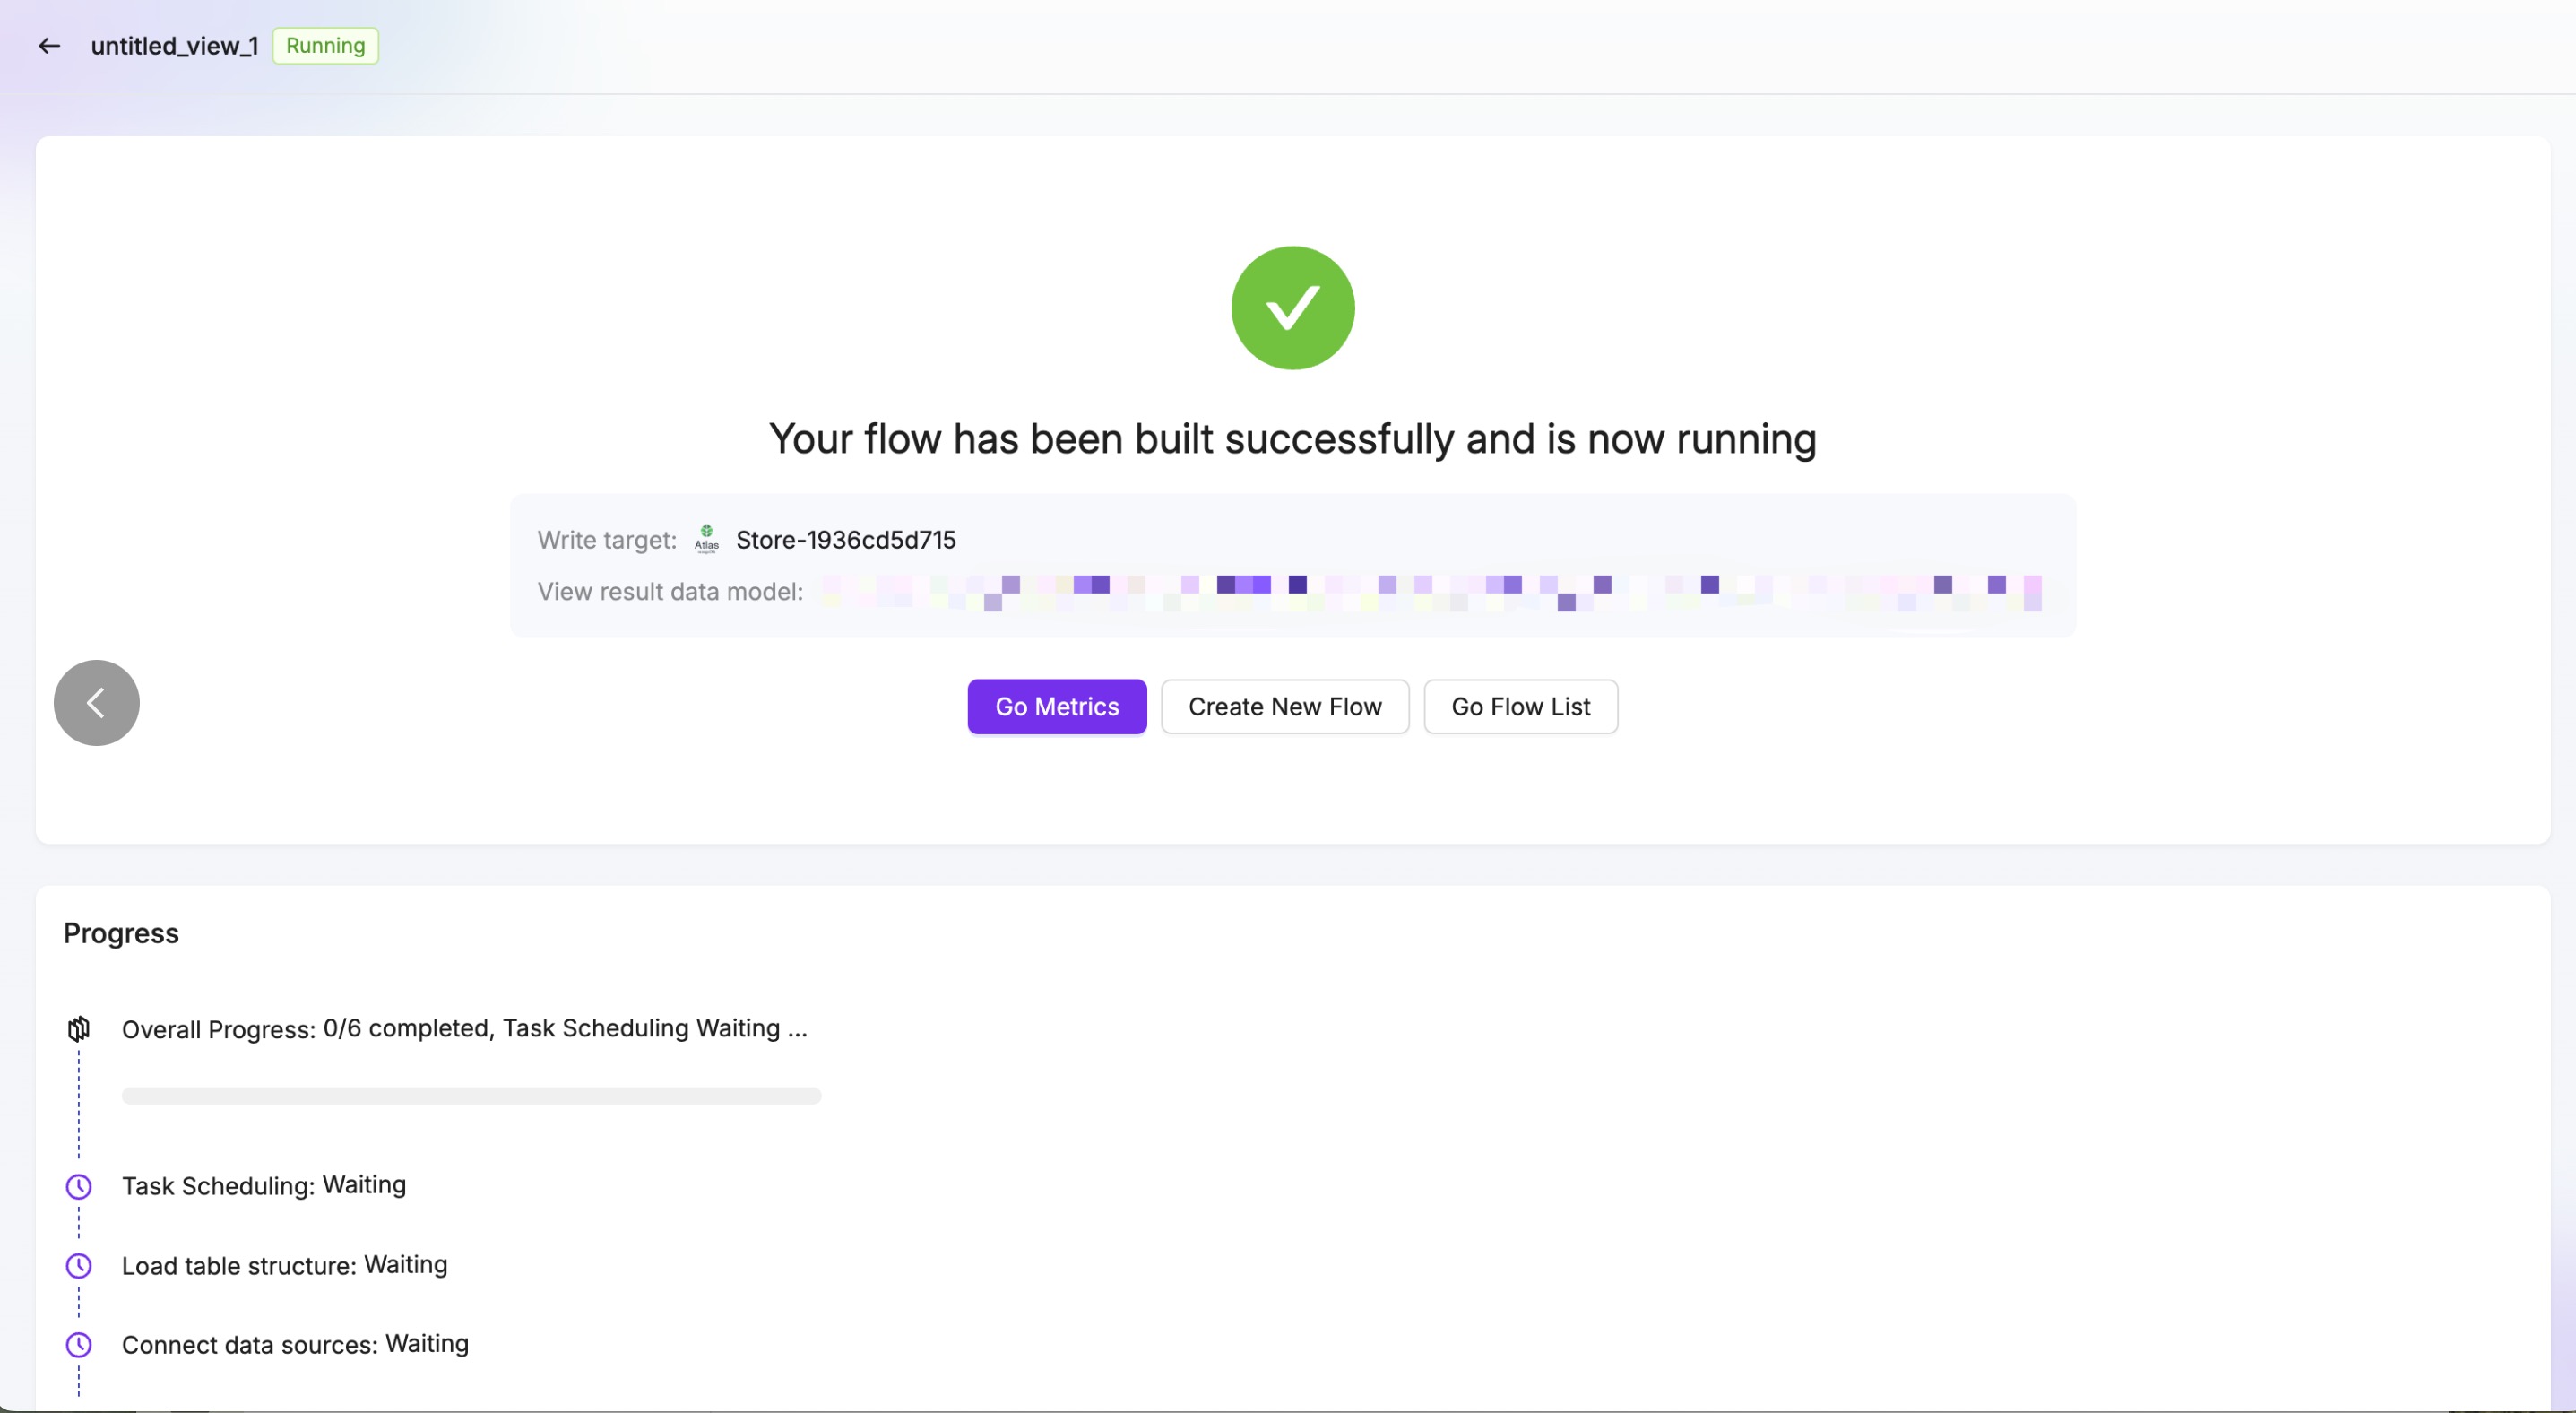
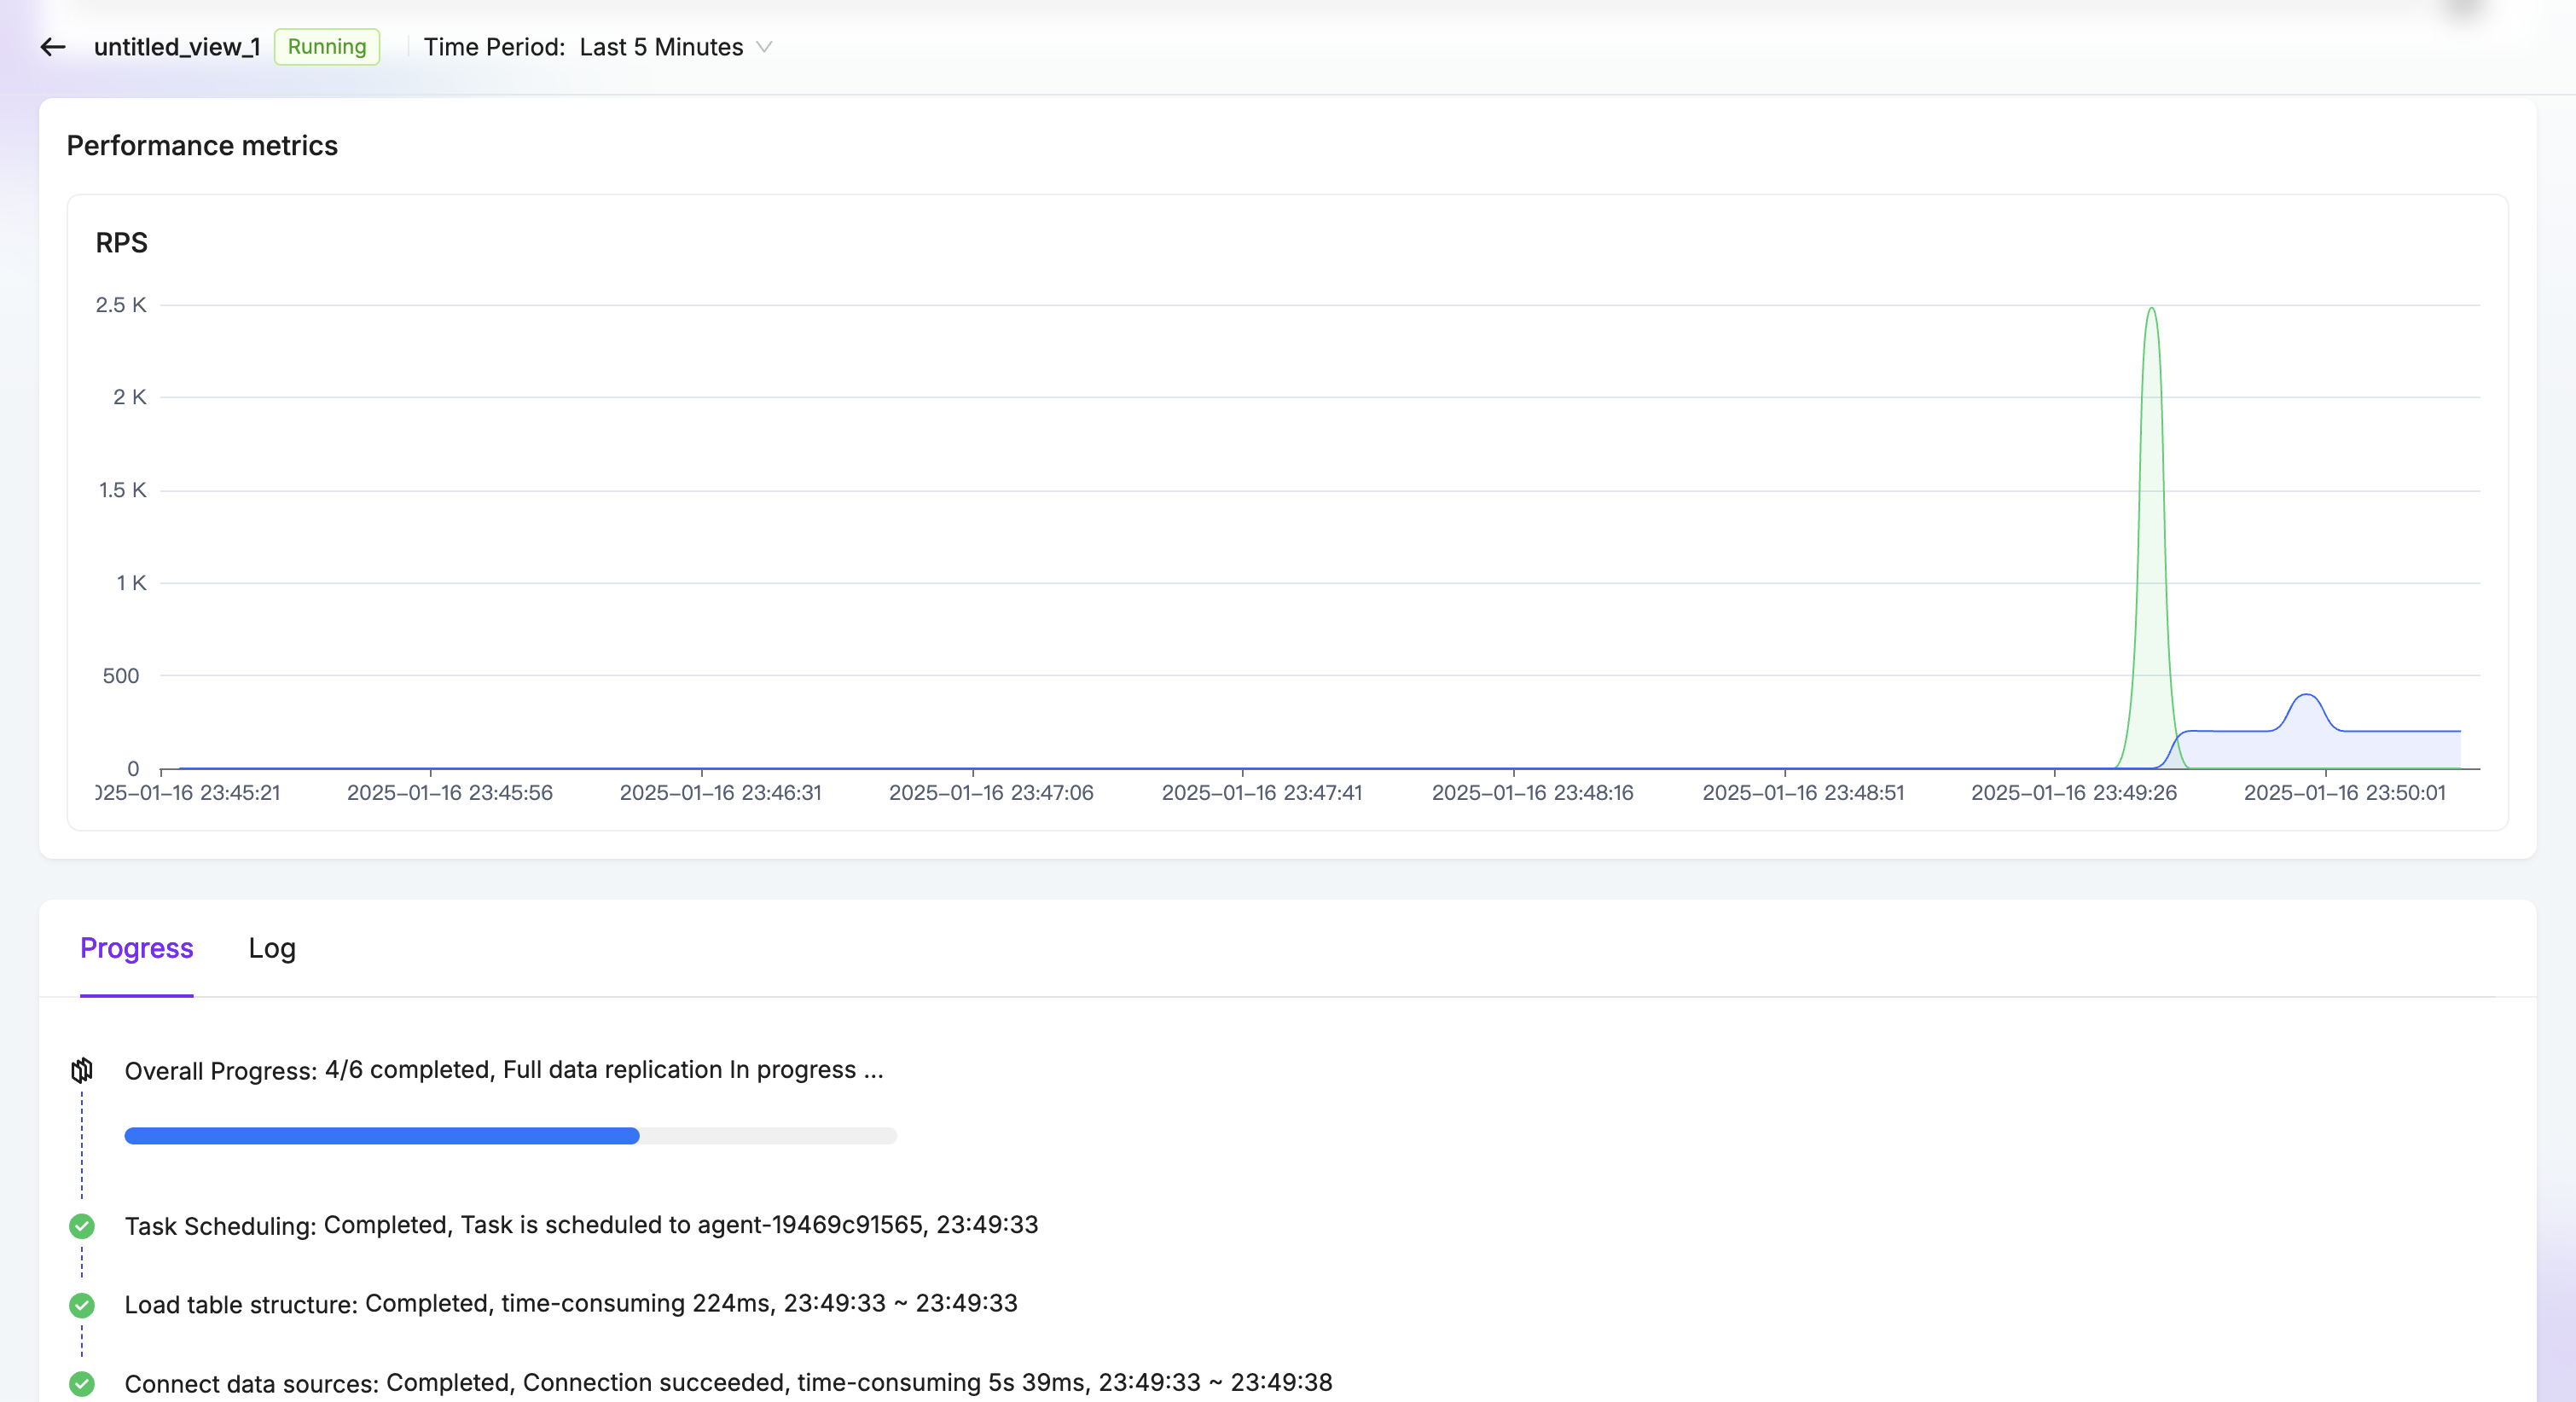
- Click Task Monitoring to navigate to the monitoring page and check the task’s running status, throughput, and synchronization progress.
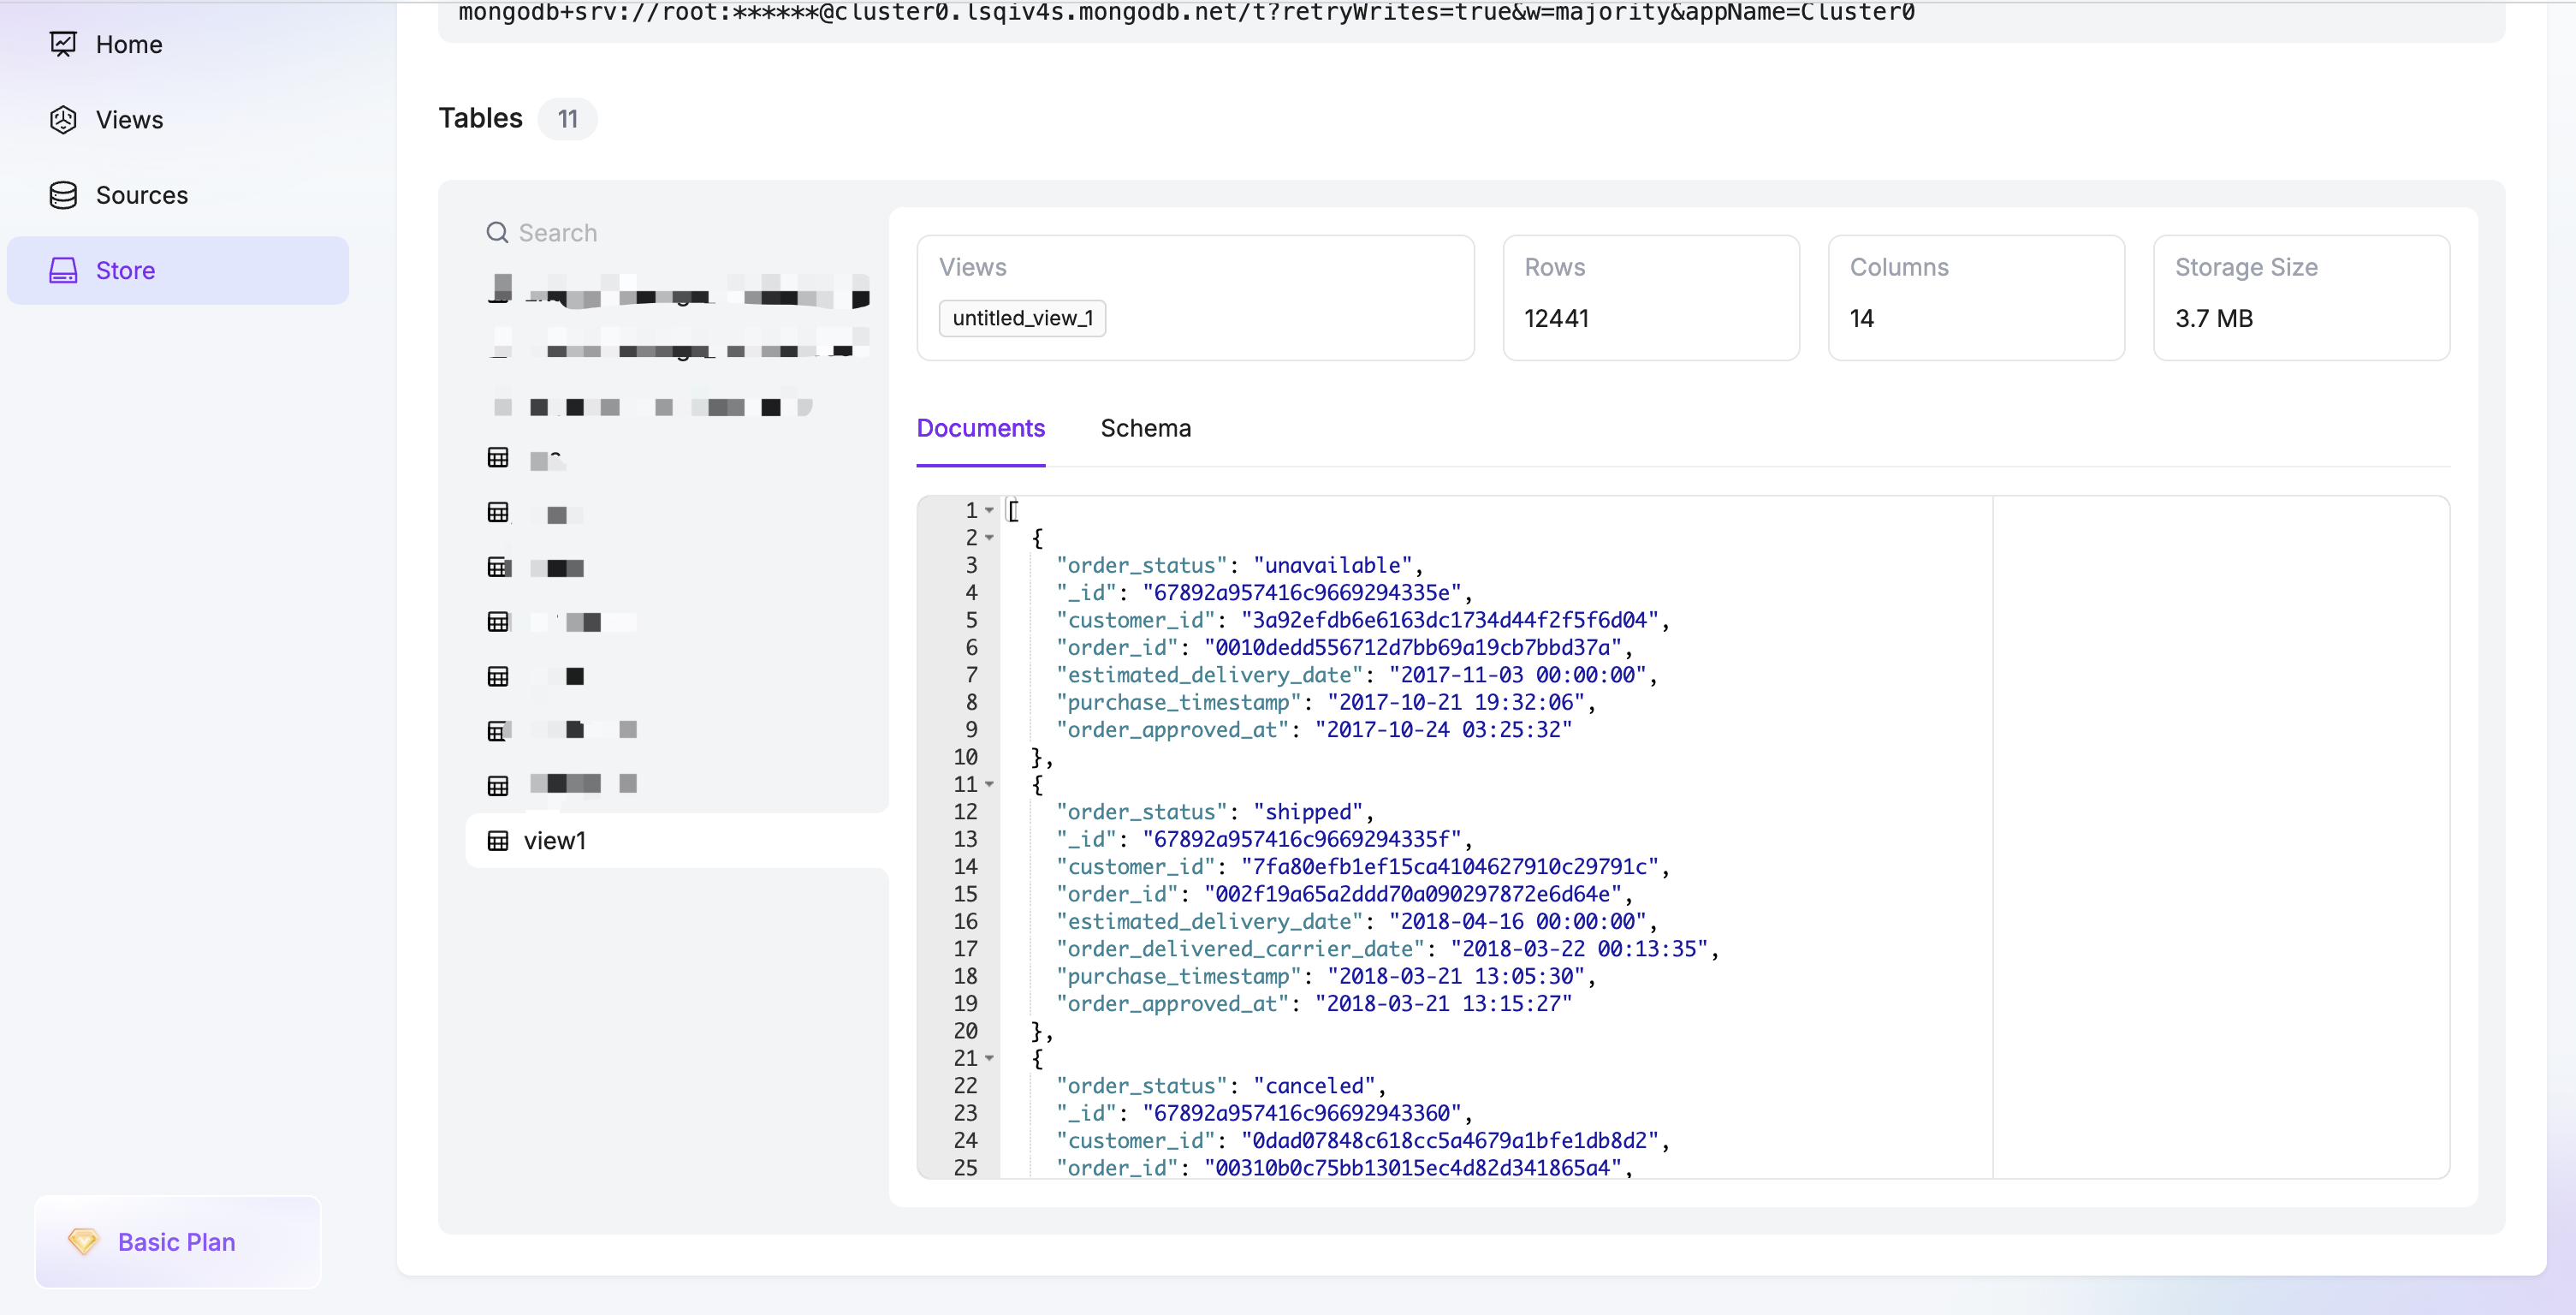
- Once synchronization is complete, you can query your target database to see the synchronized data. Your data is now available in real-time across both databases!